Who doesn’t love beautiful home organization inspiration? From color-coded products perfectly aligned on shelves, to stackable storage systems, to artfully designed labels, home organization is suddenly stylish and chic. But there’s one area that tends to get overlooked when it comes to tidying up and reorganizing—the freezer. We all do it: Arrive home with groceries and throw the freezer food in wherever it fits—we’ll dig it out when we need it. No more! It’s time to give your freezer a cool new look and optimize your freezer’s storage space with seven simple freezer organization hacks.
What you'll need
- Large trash bag
- Plastic freezer bags
- Red freezer tape
- Freezer labels
- Sticky notes
- Permanent marker
- Plastic baskets with handles
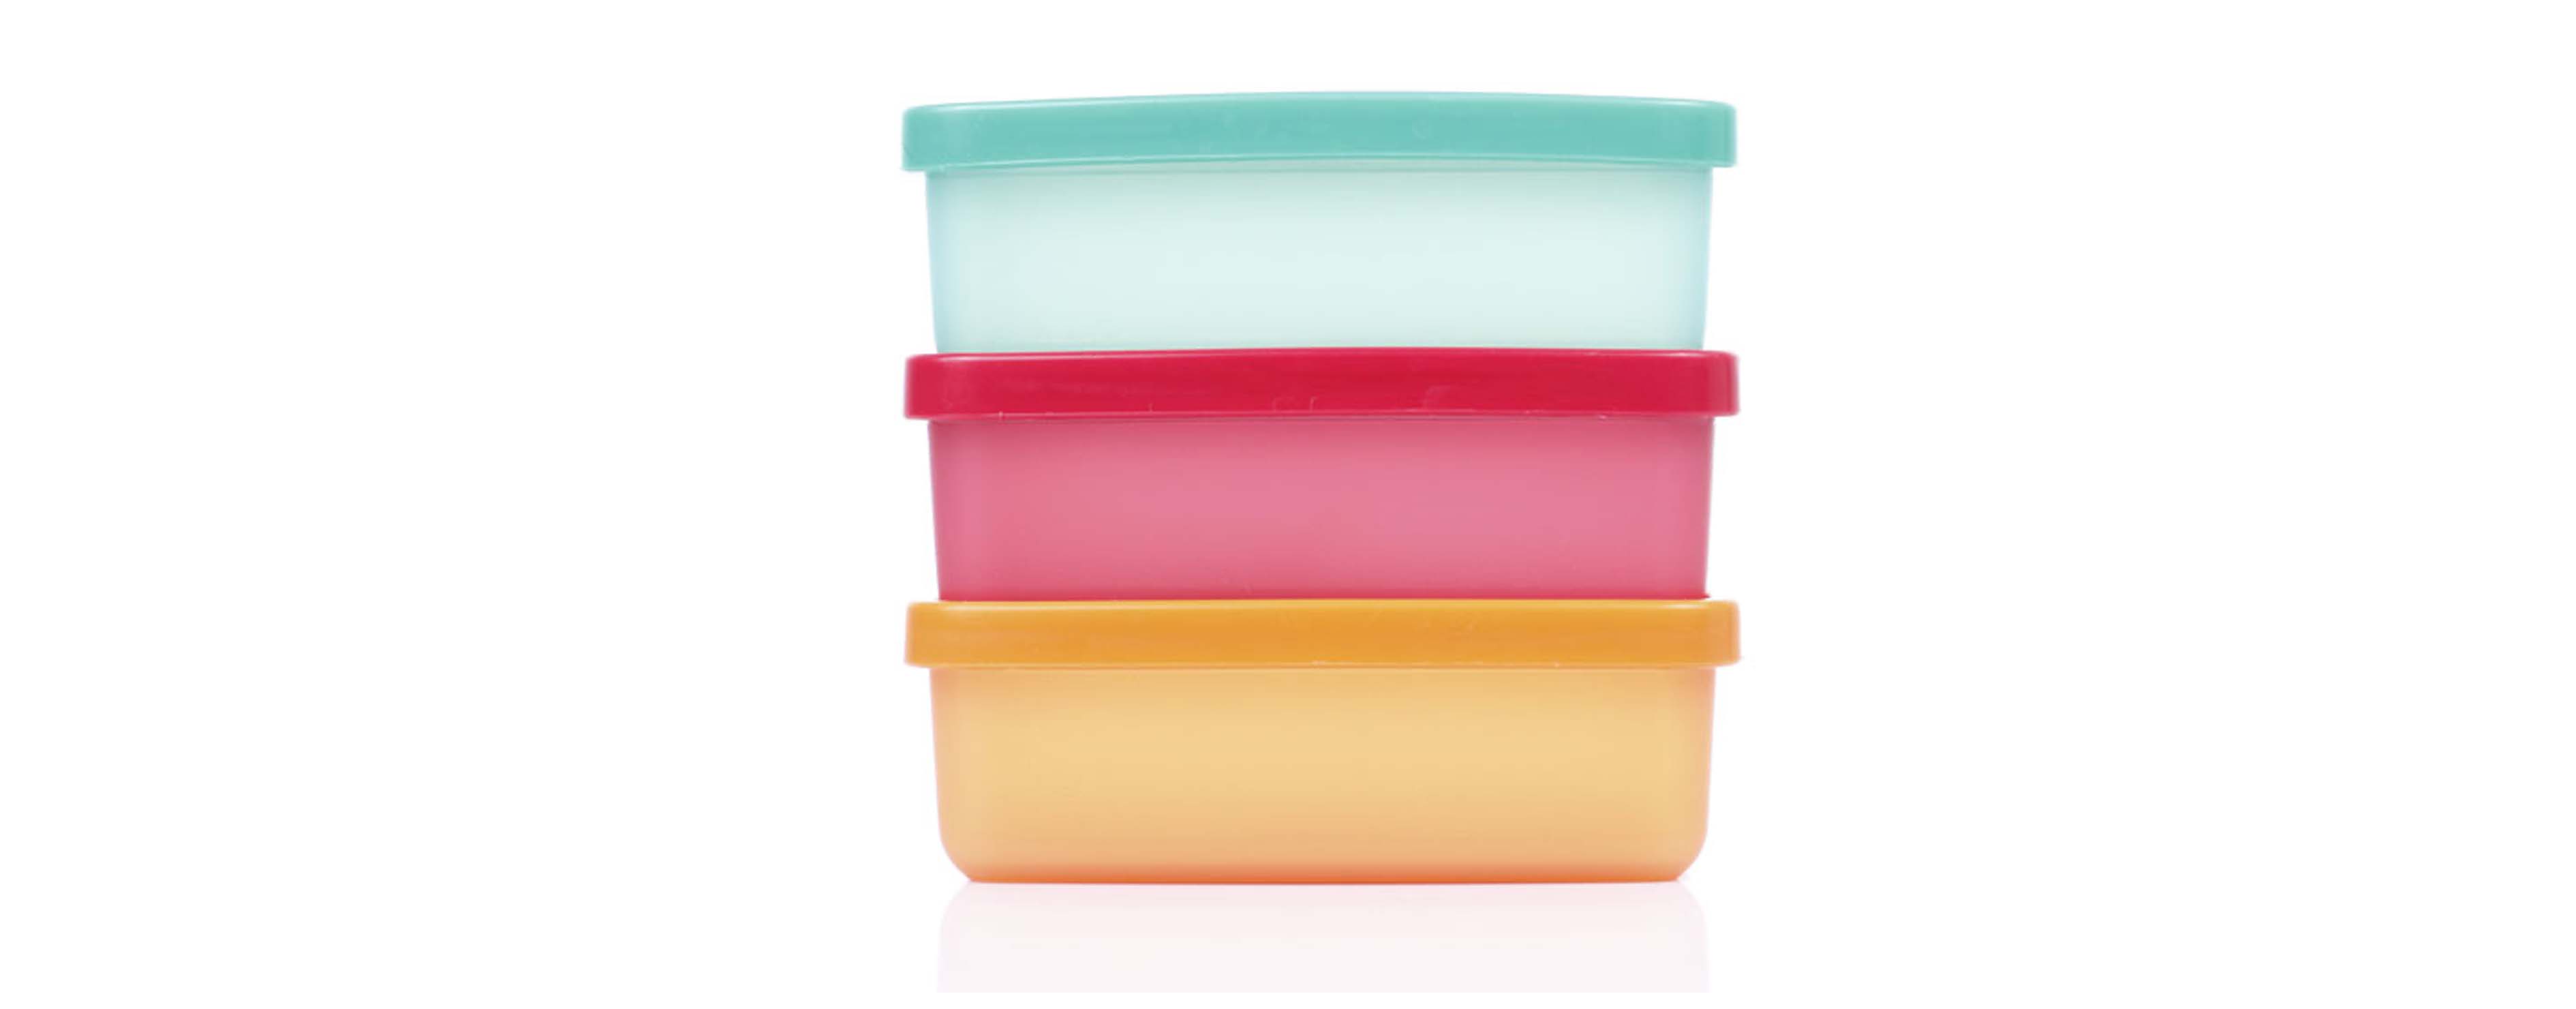
- Square-shaped storage containers (they’re more space-friendly than round containers)

Step 1. Purge & Cleanse
The first step for how to organize your freezer is starting with a clean slate. That means surveying what’s currently in your freezer and getting rid of anything that is outdated or that you don’t use. Take note of what you throw away and consider buying less of those things in the future to help reduce food waste. Once you’ve reduced your inventory to only the essential freezer food, wipe down the shelves, racks, containers, and walls using soapy water or baking soda solution to remove tough stains.
Step 2. Design a Freezer Organization System
Mise en place isn’t just for cooking! Use this method of gathering and preparing to ensure you have all the supplies you need to organize your freezer.
Step 3. Know What to Freeze
Not all foods were meant to be frozen. Do not freeze raw or hard-boiled eggs, vegetables or fruits with high water content such as lettuce, cucumbers, watermelon, oranges, or soft herbs, and most dairy products (except, of course, ice cream). Some items you can freeze might surprise you, including butter and margarine. You can also freeze soups, stews, chilis, homemade pancakes, waffles, French toast, pies and other baked goods, meats, and tomatoes.
Step 4. Remove Packaging for More Room
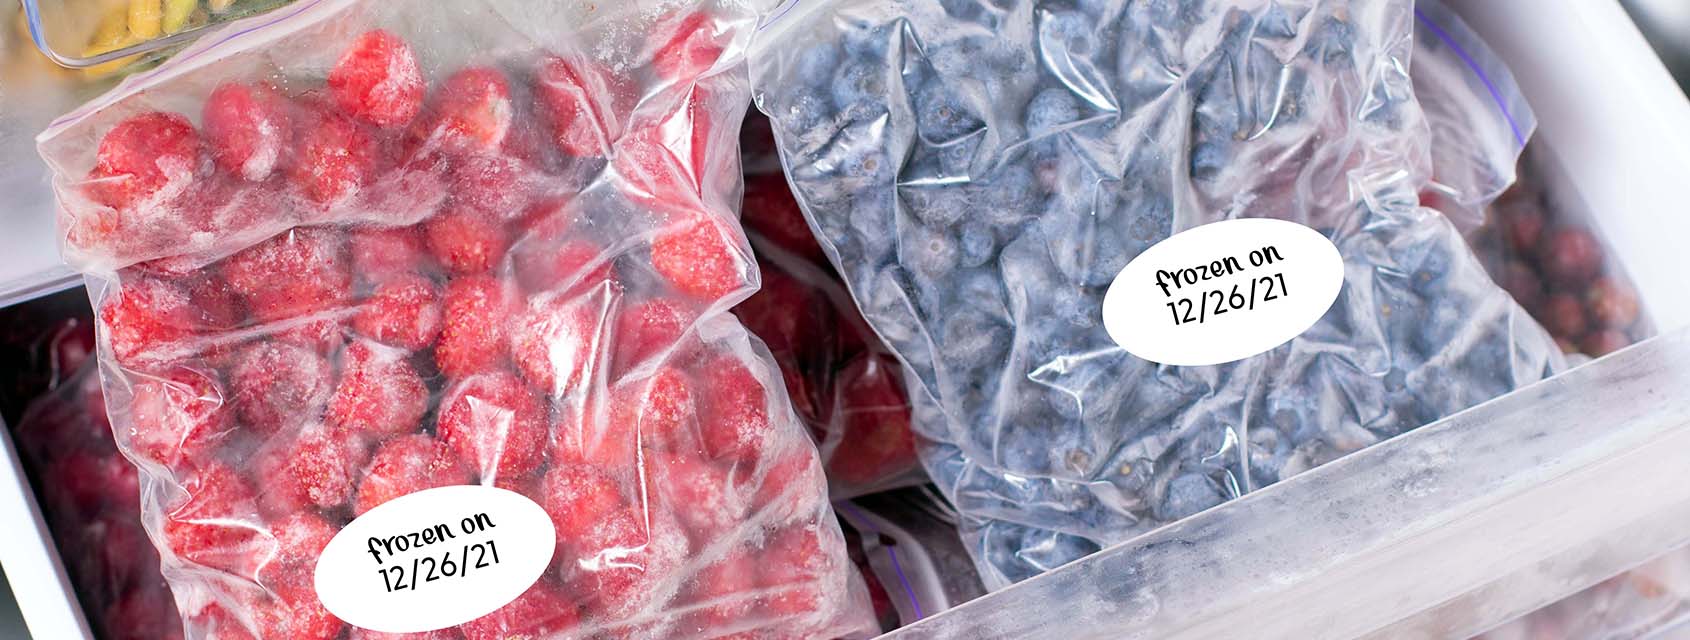
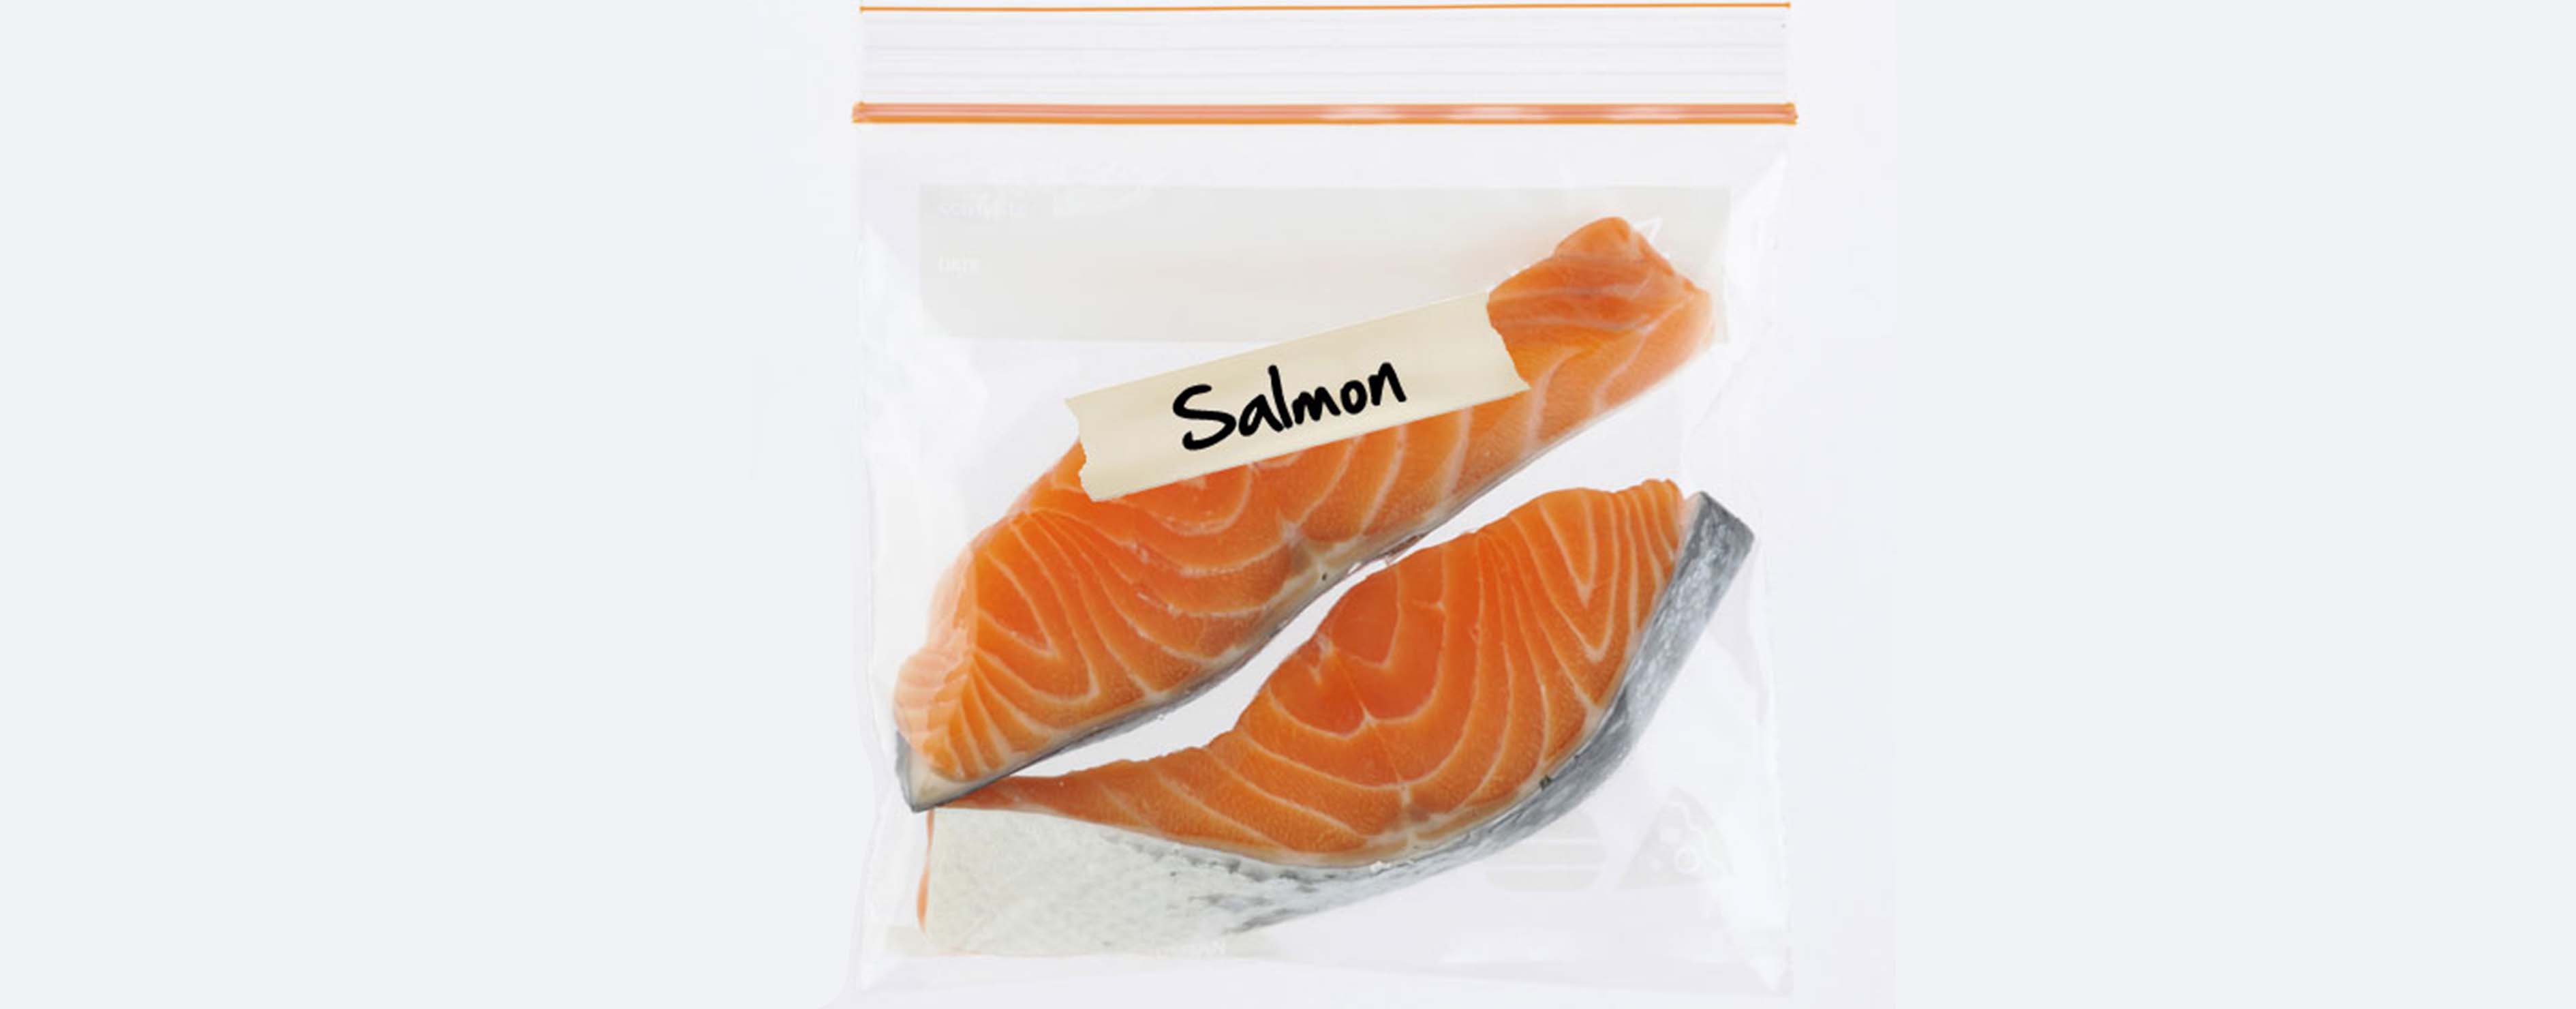
Removing bulky boxes and packaging can create more space in a crowded freezer. Use freezer labels to identify food items and keep track of cooking instructions for frozen meals with sticky notes and freezer tape.
Step 5. Label Bags and Containers
Labeling: This is one freezer organization hack you’ll thank yourself for doing later. Use sticky labels, tape, and permanent marker to make note of the date the food was cooked or repackaged, number of servings per container, who in your family likes or dislikes certain foods, and if the food contains any special flavoring, spices, or ingredients.
Step 6. Rotate on the Regular
When you put new freezer food in, rotate older items currently in the back of your freezer to the front. This is also called the “First In, First Out” (FIFO) method and helps reduce food waste by reminding you of what you have in your freezer and prompting you to use older items before newer ones so nothing goes bad.
Step 7. Fill the Gaps
You’re almost done! Now that your freezer is neatly organized and foods clearly labeled, the last step is to fill the gaps. This might sound crazy since you just eliminated unnecessary items, but adding a few ice packs and water bottles in the empty spaces can help save energy. A full freezer uses less energy since less air is circulating and the temperature stays the same for longer. And in case of a power outage, your food will stay safer longer until electricity is restored.


